Undeniably, bread is a staple of my life. From pillowy soft milk breads to crusty sourdoughs to sweetened Korean buns, the range of flavors, textures, and applications bread has is incredible. The smell of bread baking in the oven, with its distinctive yeasty notes, is one of my favorites—I would pay to purchase a candle that could replicate the scent.
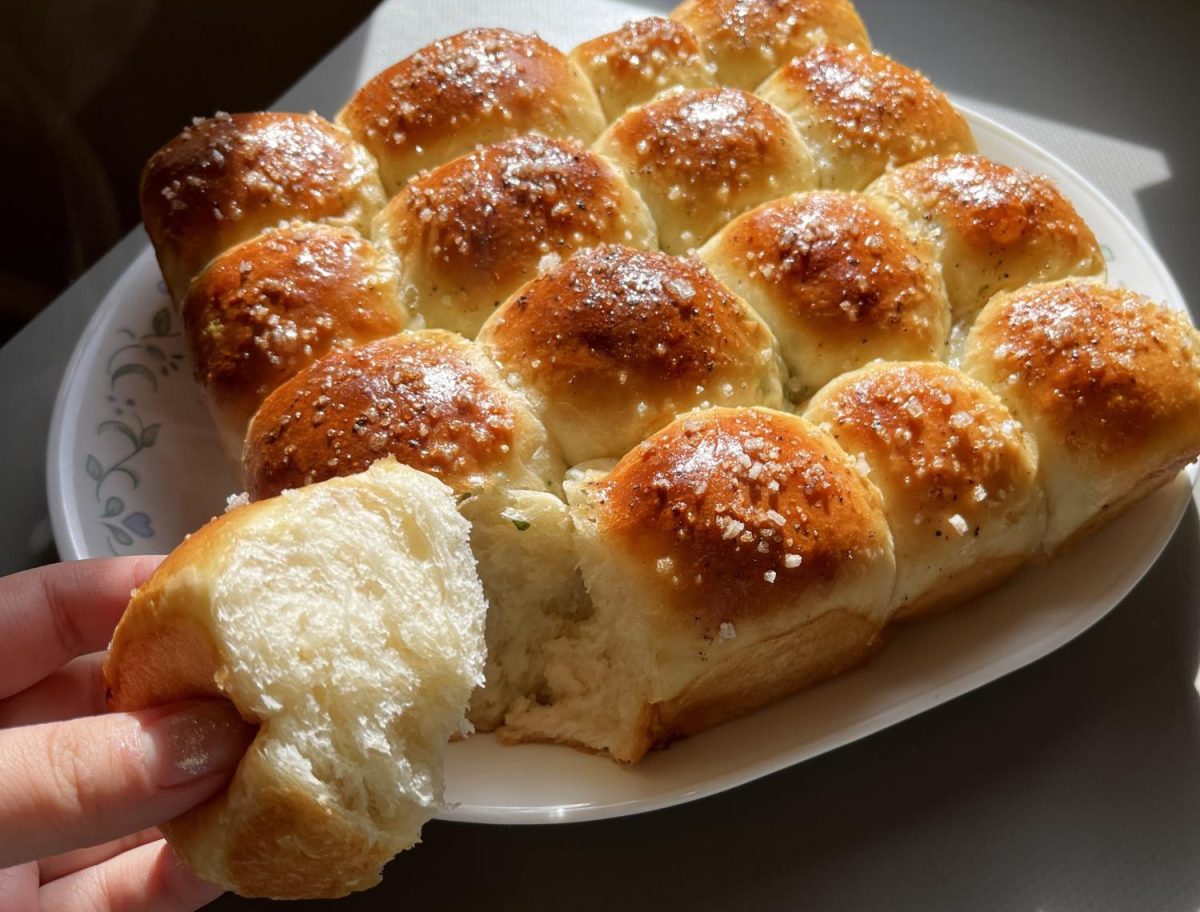
Armed with my jar of active dry yeast and Costco industrial-sized bags of all-purpose flour, my journey as a bread aficionado has led me to a long bucket list of breads I would like to make. One of my most recent creations—perfect for a holiday meal addition—are sour cream and chive dinner rolls.
These rolls have a milk bread base, also known as a tangzhong. Originating in Japan, tangzhong is a stiff paste of flour and a liquid, typically using water or milk, made by cooking over a stovetop. This specific recipe calls for a mixture of flour and a combination of water and milk. The method pre-gelatinizes the flour’s starches, allowing them to absorb more water. In fact, making a tangzhong can double the flour’s absorbing abilities in comparison to more traditional methods of incorporating the flour with the other dry ingredients, then kneading together with wet ingredients.
Heating starches with a liquid also forms structure, helping the dough to retain the liquid throughout the process of kneading, shaping, baking, and cooling. This renders a less sticky, more tacky dough that makes kneading easier; potential for increased height of the finished product due to the additional absorbed liquid turning into internal steam; and a more moist end product with increased longevity.
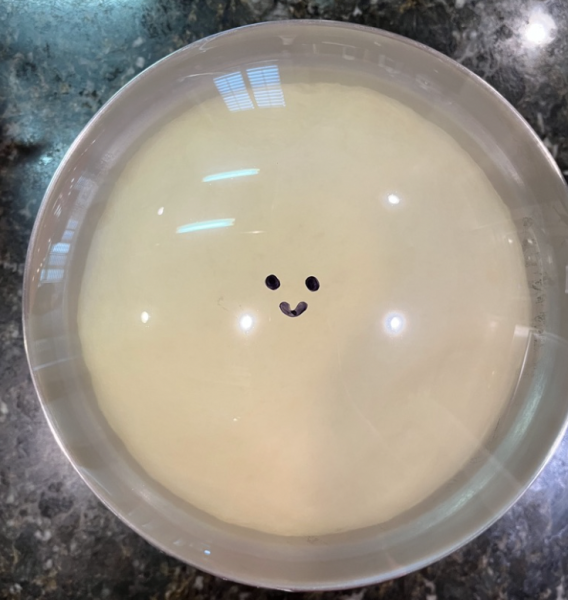
Next, the yeast is bloomed in warm milk or water with sugar, testing if the yeast is still active/alive. The liquid should ideally be between 105°F and 110°F. After about five to ten minutes, the mixture should emanate a strong aroma of yeast and the surface should be foamy with small bubbles. While this step can be skipped if you are confident in the vitality of your yeast, I would suggest doing this step to be extra sure—no one wants to invest hours into a recipe only for the bread to end up flat and dense!
Purchasing a jar of yeast may seem like a waste since yeast expires quickly and will no longer be usable after a few months. However, a trick to increase the lifespan of your yeast (especially if you don’t plan on baking with it on a regular basis) is to freeze it. I have had success with using this method, using the same jar for over a year now! Freezing the yeast puts the microorganisms in a suspended state, allowing them to continue to live until you are ready to use them.
The next step to making sour cream and chive rolls is to combine the rest of the ingredients with the tangzhong and yeast mixture, mixing until a shaggy dough forms. While the kneading process can be greatly accelerated with the use of a dough hook and stand mixer, I unfortunately do not own one. Instead, I employ the use of my natural mixers (my hands) and some other tools.
To start, I like to use a fork to try to distribute the ingredients and form a rough dough before kneading with my hands. While there are different methods of kneading, the one I like to use consists of folding the dough onto itself, pushing the dough with the heel of my hand, then giving the dough a quarter turn. This action of compressing and stretching the dough helps the ingredients to distribute more evenly, in addition to creating gluten (protein) structure by lengthening and strengthening gluten strands.
Gluten formation also imparts a nice texture in the bread. However, over-kneading can cause too much gluten to form, and thus, flatter, chewy bread. In contrast, under-kneading will result in a loose dough that is difficult to work with, as well as a dense end product. A technique many home bakers use to help determine when dough has been appropriately kneaded is the “windowpane” test. When you pinch a piece of your dough and stretch it into a “windowpane” in which the dough is thin and translucent, it has been kneaded enough. If the dough tears easily and doesn’t reach this stage, there’s a high chance that it has been under- or over-kneaded.
After kneading, the next step is bulk fermentation, or the first rise. This period of time is often the longest step in breadmaking, as it allows the yeast to ferment and continue to develop the gluten network. Fermentation also generates organic acids that add flavor and strength to the dough, while carbon dioxide adds lightness and volume to the dough. To help create an ideal environment for proofing (for those of us without a professional proofing box), I like to turn on my oven briefly and let the temperature get to about 81°F—the ideal for proofing—and let my dough rise, covered tightly with plastic wrap.
Most recipes use visual cues to determine when the dough is finished with this initial rise; rather than giving an exact time allocated for proofing, recipes typically list a range of a few hours to allow the dough to double in size. Once doubled, the dough needs to be “punched down” to release excessive gases created during fermentation. Deflating the dough also allows the gluten to relax and redistributes the yeast throughout the dough.
The recipe called for the chives to be added into the dough after this step, as chives tend to release excess liquid that could tamper with the bulk fermentation. Instead, the minced chives are sprinkled over the dough, rolled up, and then flattened and folded repeatedly. This creates layers of even chive distribution in the dough, as well as producing a rectangular shape that can efficiently be divided into square pieces.
Next, the pieces are converted into round balls by cupping your hand over each piece and dragging the dough across a clean, flour-free surface. The friction created by moving the dough in circular motions against the surface helps to tuck the edges of the piece under the dough, creating a relatively smooth, elastic top.
Shaping yeasted bread generally requires a second rise/proof, as shaping typically causes a lot of air to be knocked out of the dough. The second proof allows the dough to relax and expand again before baking.
To give the rolls a nice, golden-brown color, you can use an egg wash (whisked egg) to brush the tops before baking at 375°F. Egg wash also adds shine and crispness to the surface of baked goods, as the protein and fat in the egg undergo the Maillard reaction.
Finishing the rolls off with a bit of flaky salt and freshly-cracked pepper before presenting the fruit of my labors to my family, I can safely say that they were a hit with my family (I also devoured at least three…). While baking with yeast can seem daunting and time-consuming, the majority of time is hands-off to give the yeast a chance to ferment. I highly recommend this sour cream and chive roll recipe by Claire Saffitz, and wish you the best of luck with your own bread adventures—it’s the yeast I can do!

